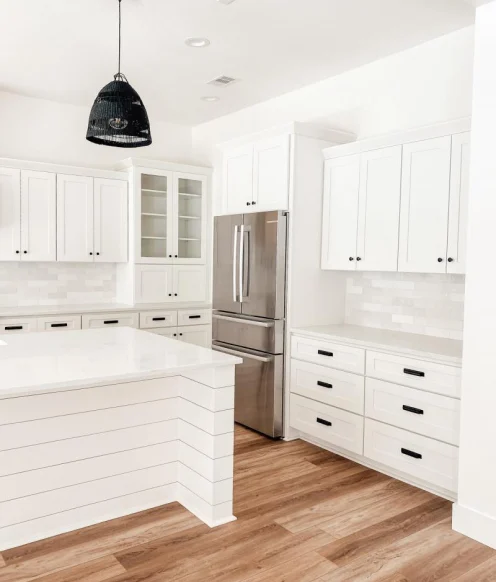

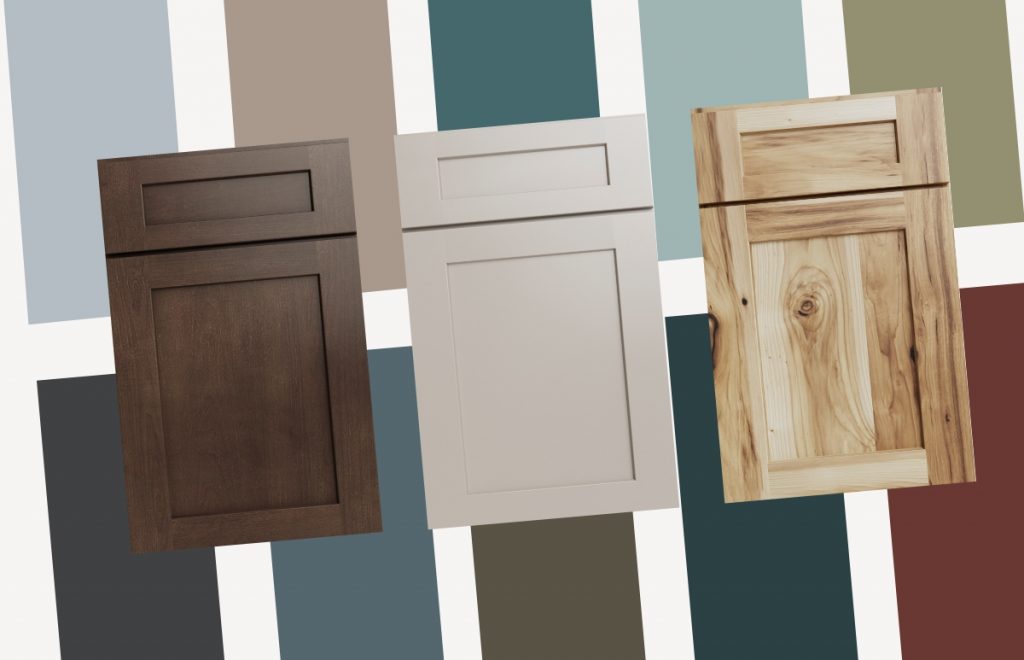
Buying unfinished cabinets is a great way to save money on your kitchen revamp. While it’s a great way to get cheap cabinets, it also requires a bit of work on your end. If the fear of ruining your cabinets (unfinished) is an obstacle, here’s a guide on how to do it without hassle. This way, you’ll get the most out of your discount cabinets.
Materials Needed
- Materials Needed:
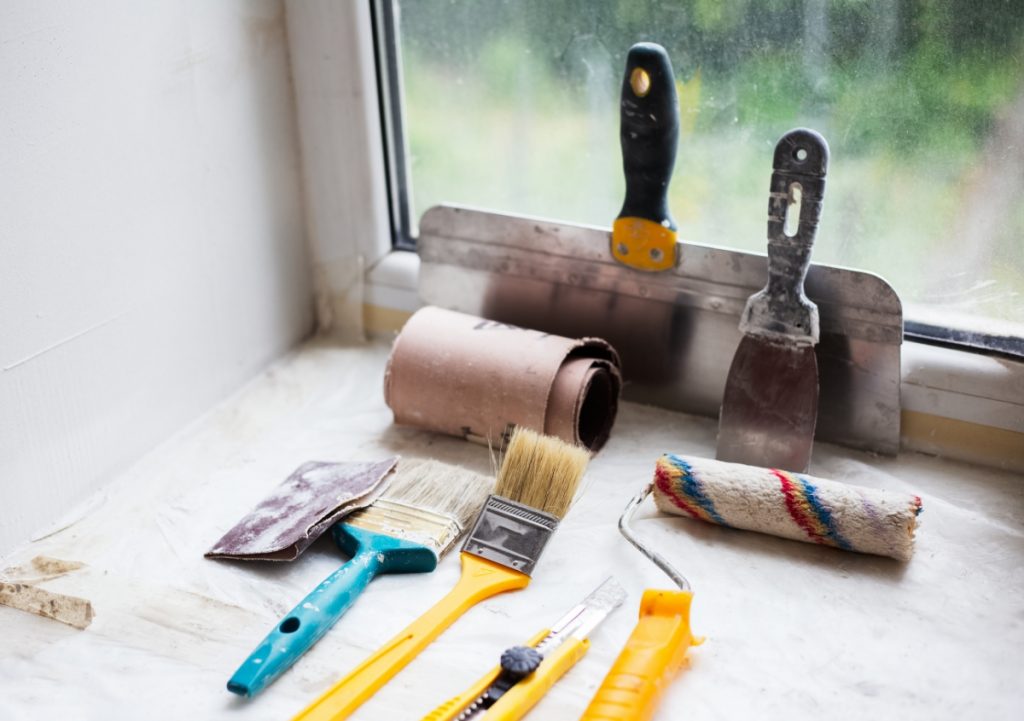
- Sandpaper (120, 150, 220 grit)
- Wood filler
- Tack cloth
- Primer
- Paint or stain of your choice
- Paintbrushes or paint sprayer
- Polyurethane or clear coat (for protection)
- Painters tape
- Drop cloths or plastic sheets
- Screwdriver or drill (for removing and reattaching hardware)

1. Preparing
Remove Cabinet Doors and Hardware: Use a screwdriver or drill to remove all cabinet doors and hardware like handles and hinges. Place them in a safe place.
Clean Cabinets: Clean the cabinets thoroughly to remove any grease, dirt, or grime. Use a solution of warm water and a mild detergent, then wipe down with a clean, damp cloth.
2. Sanding
Sand Cabinets: Lightly sand the cabinets with 120-grit sandpaper to remove the existing finish and create a smooth surface. Use a sanding block or orbital sander for larger areas. Removing doors from the hinges can make the job easier. Sand with the grain to avoid scratches.
Fill Imperfections: Use wood filler to fill any dents, scratches, or imperfections. Allow it to dry completely, then sand again with 150-grit sandpaper.
Final Sanding: Finish with 220-grit sandpaper for a smooth and even surface. Make sure to remove all dust with a tack cloth.
Vacuum up all dust from your area before continuing to the next steps. If you leave dust on your cabinet, you’ll have an undesired grainy appearance. Pneumatic air compressors, or even the cheap compressed air that cleans your computer keyboards, can help you get dust out of the crevices.
3. Priming
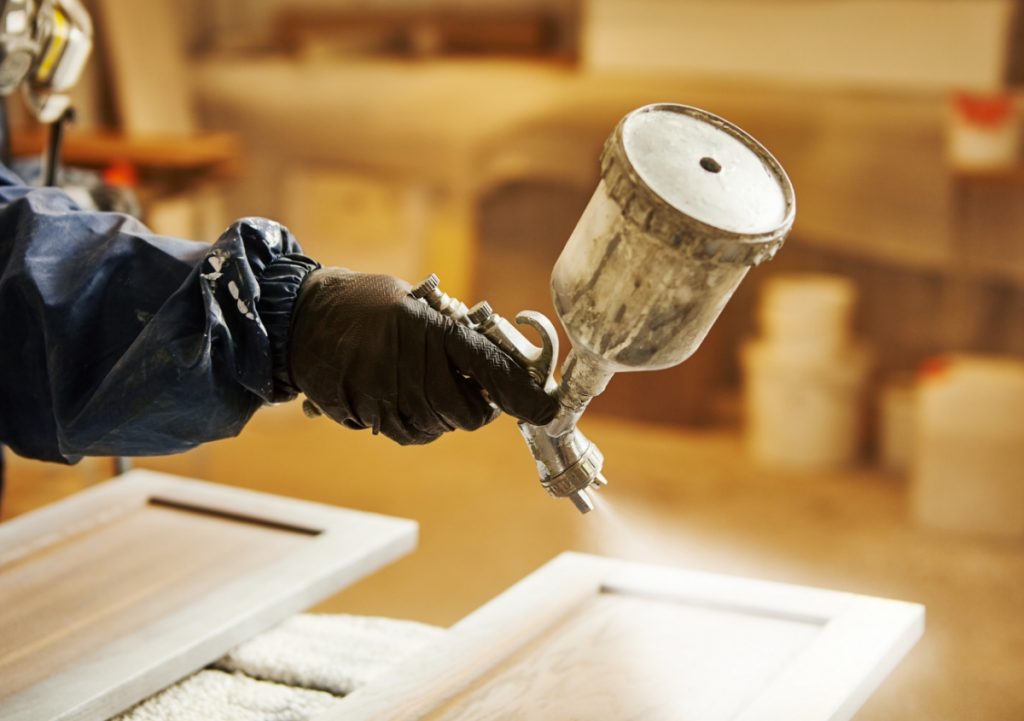
Apply Primer: Apply a coat of primer to the cabinets using a paintbrush or paint sprayer. Use a high-quality, stain-blocking primer for best results. Allow the primer to dry completely according to the manufacturer’s instructions.
4. Painting and Staining
For Painting:
Apply Paint: Apply a coat of paint to the cabinets using a paintbrush or paint sprayer. Use a high-quality, durable paint specifically designed for kitchen cabinets. Allow the first coat to dry completely, then lightly sand with 220-grit sandpaper and apply a second coat if necessary. Starting with the inside edges and openings and working toward the faces of your cabinets will help you work efficiently. Thin coats help you avoid leaving brush strokes.
For Staining:
Apply Stain: Apply a coat of wood stain to the cabinets using a brush or cloth, following the grain of the wood. Allow it to penetrate for a few minutes, then wipe off any excess with a clean cloth. Allow the stain to dry completely, then apply a second coat if desired for a deeper color. Apply stain against the grain to allow the stain to reach deeper.
5. Finishing
Apply Clear Coat: Staining and painting only changes the color of your cabinets. They are still considered unfinished cabinets until you apply a finish. Once the paint or stain is completely dry, apply a clear coat of polyurethane or another protective finish to the cabinets to seal and protect the surface. Apply two coats of finishing spray. Use oil-based polyurethane on kitchen cabinet finishes for oil-based stains.

6. Reassembling and Clean Up
Reattach Hardware: Once the clear coat is dry, reattach the cabinet doors and hardware using a screwdriver or drill.
Remove Tape and Clean Up: Remove any painters tape and clean up any drips or spills. Replace any liners or shelves inside the cabinets.
Tips
Ventilation: Ensure proper ventilation when painting or staining cabinets by opening windows and using fans.
Allow Adequate Drying Time: Make sure to allow each coat of primer, paint, stain, and clear coat to dry completely according to the manufacturer’s instructions before applying the next coat or reattaching hardware. Rushing this step can lead to a subpar finish.
Use Drop Cloths: Protect your countertops, floors, and surrounding areas with drop cloths or plastic sheets to prevent accidental spills and splatters.
Quality Materials: Invest in high-quality paint, stain, and finishes for a durable and long-lasting result.
Test: Always test your chosen paint or stain on a small, inconspicuous area of the cabinet before applying it to the entire surface.
Sample Colors: Before committing to a color, test a small area or sample board to see how the paint or stain looks in your kitchen’s lighting and alongside your countertops, backsplash, and flooring.
Store Doors Flat: When drying and storing cabinet doors, lay them flat to prevent drips, runs, and uneven drying of the finish.
Check for Imperfections: After each coat has dried, inspect the cabinets under proper lighting to check for any imperfections, streaks, or areas that may need additional sanding or touch-ups.
Test Reattached Hardware: After reattaching the cabinet hardware, open and close the cabinet doors to ensure that the hardware is functioning properly and that the doors are aligned correctly.
Use Quality Tools: Invest in good quality brushes, rollers, and paint sprayers for a smoother and more professional finish.
Keep Clean Workspace: Maintain a clean and organized workspace throughout the project to make the process more efficient and to ensure a better end result.
Follow Safety Guidelines: Always follow the safety guidelines and recommendations provided by the manufacturers of the products you are using, including proper ventilation, protective gear, and disposal of materials.
Consult a Professional: If you are unsure about any step of the process or if you encounter any issues that you are not confident in addressing yourself, consider consulting a professional for assistance or advice.
Follow Care Instructions: To maintain the finish and prolong the life of your cabinets, follow any care instructions provided by the manufacturer of the paint, stain, or clear coat. Avoid using harsh chemicals or abrasive cleaners that can damage the finish.
Finishing kitchen cabinets is a time-consuming process, but with proper preparation and attention to detail, you can achieve professional-looking results. Visit the RTA Cabinet Store website for more guidance on choosing your cabinets. Stay tuned to the blog for more on how to finish kitchen cabinets.