
Assembling and installing RTA cabinets doesn’t have to be a hassle. Whether you’re a confident DIY homeowner or a seasoned Trade Pro, these expert-approved hacks will help you save time, avoid costly mistakes, and get a flawless finish every time. With support from RTA Cabinet Store, you’re never going it alone.
From exclusive tools like the BILT app to time-saving build strategies, here’s how to streamline your project from unboxing to the final soft-close.
1. Unbox and Organize Like a Pro
Before you grab your screwdriver, take 15–20 minutes to unbox every cabinet and part. Lay everything out by type (base, wall, hardware) and match each item with the packing slip.
Pro tip: Take a quick photo of each box’s contents and use painter’s tape to label each panel and piece.
2. Use the BILT App for 3D Guided Assembly
This is where RTA Cabinet Store sets itself apart. We’ve partnered with BILT to offer 3D, step-by-step interactive instructions for many of our cabinet lines. No more squinting at paper diagrams or watching hours of YouTube videos.
Benefits:
- Visualize each step with 360° models
- Avoid common mistakes
- Accessible from any smartphone or tablet
3. Label Parts as You Go
Use painter’s tape to mark interior panels, drawer fronts, and shelves. Even if you’re using the BILT app, this step saves confusion when juggling multiple cabinets.
Especially helpful if you’re assembling in bulk for a kitchen or multi-room project.
4. Dry Fit Before Screwing Anything In
Before driving your first screw, dry fit all panels and components. This ensures:
- The correct parts are matched
- Pre-drilled holes line up
- The finish looks right in your space
This one hack can prevent 80% of common first-time errors.
5. Invest in the Right Tools
Don’t rely on a basic screwdriver set. These tools will make your life easier:
- Cordless drill with clutch setting
- Rubber mallet
- Cabinet clamps
- Level or laser level
- Composite shims
For upper cabinet installation, consider a cabinet jack to keep things hands-free.
6. Build in Batches for Maximum Efficiency
Save time and reduce fatigue by grouping similar cabinets together and building them in batches. This method works great for both DIYers and pros installing multiple kitchens.
Set up an assembly line process if space allows—and don’t forget to work on a protected surface.
7. Know When to Choose Pre-Assembled
Not every project requires self-assembly. At RTA Cabinet Store, you can mix and match RTA and pre-assembled cabinets to fit your timeline and skill level.
- Assembled cabinets are great for fast-turn jobs
- Flat pack is ideal for cost savings and DIYers
- Add assembly to any cabinet for just $75
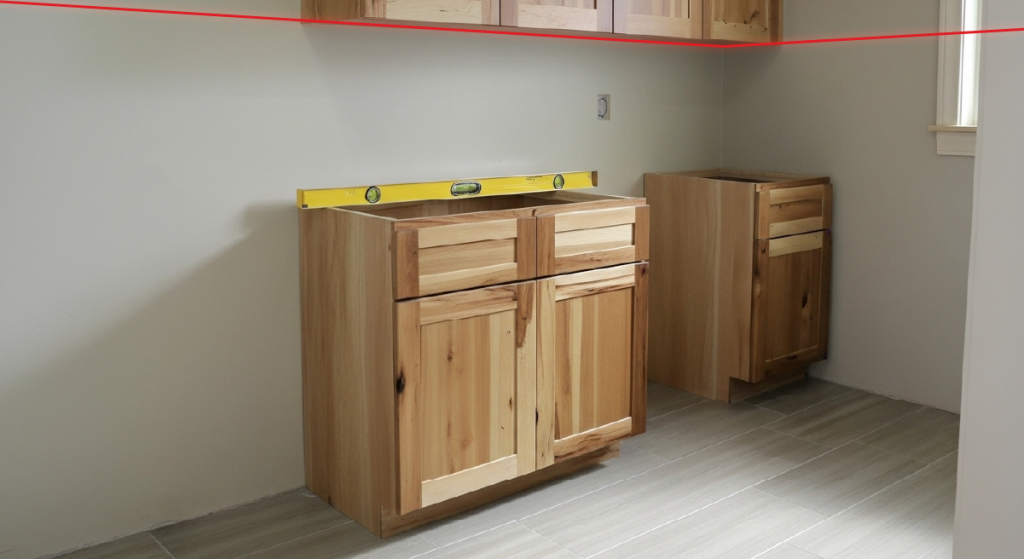
8. Use a Laser Level or Chalk Line
Proper leveling is non-negotiable. A slight slope at installation becomes a major issue when doors and drawers won’t align.
Use a laser level or snap a chalk line to guide installation—especially for upper cabinets and long runs.
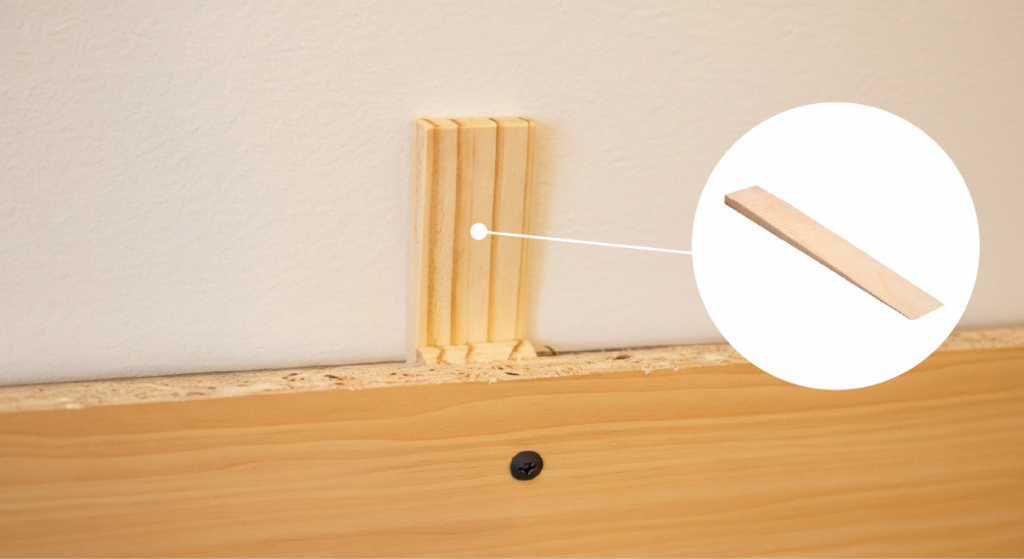
9. Shim Smarter, Not Harder
Uneven floors and walls are the norm, not the exception. Use composite shims for subtle adjustments, and always secure cabinets to studs after shimming.
Avoid over-tightening screws to compensate for gaps—this can cause warping.
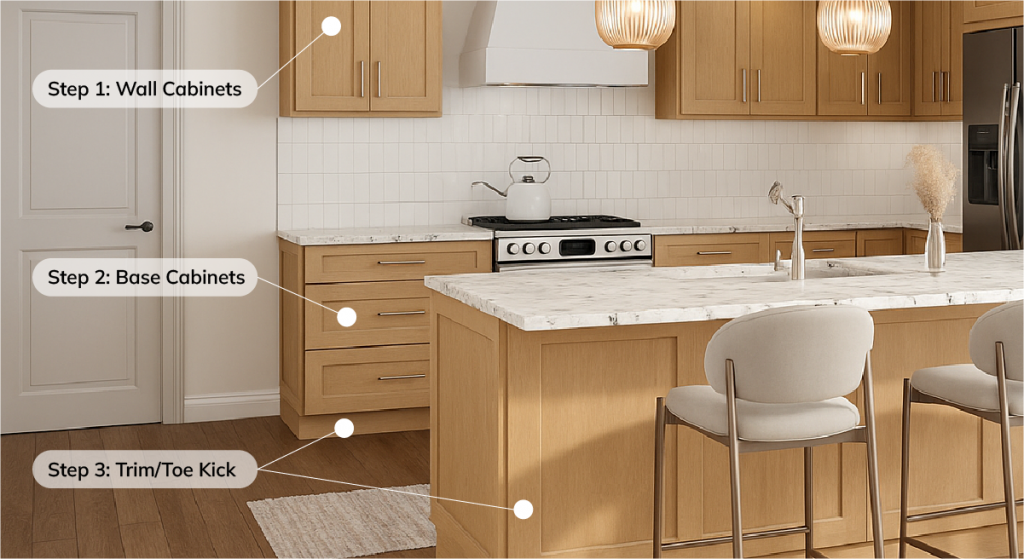
10. Secure Cabinets in the Right Order
Always install in this sequence:
- Upper cabinets first
- Base cabinets second
- Trim and toe kicks last
This prevents leaning over finished cabinets and keeps the jobsite clean. Always mark and drill into wall studs—toggle bolts are not enough for full cabinets.
11. Don’t Skip the Final Adjustments
Once everything is installed:
- Use the cam or euro hinge screws to align doors
- Install toe kicks with finishing nails or clips
- Check soft-close features
These finishing touches make all the difference in the final look.
Bonus Tips for Trade Pros
- Build off-site while waiting on inspections
- Pre-label everything for faster installs
Access RTA Cabinet Store’s Trade Pro Program for loyalty pricing and a dedicated designer
FAQs About RTA Cabinet Assembly
Are RTA cabinets hard to assemble?
Not with the right tools and instructions. Our cabinets are designed for ease of use with support from the BILT app.
How long does it take to install a full kitchen?
DIYers can expect 1–2 weekends; Pros may finish in a few days depending on complexity.
What’s the difference between RTA and pre-assembled cabinets?
RTA cabinets arrive flat-packed and are assembled on-site; pre-assembled cabinets are ready to install.
Can I hire someone to install RTA cabinets?
Yes! Many customers choose to assemble themselves and hire a contractor for the install—or vice versa.
With the right prep, tools, and support, RTA cabinet assembly doesn’t have to be intimidating. In fact, it can be deeply satisfying.
From the Quick Ship Guarantee to our free design service and BILT app partnership, RTA Cabinet Store goes beyond the box to make your project successful.